
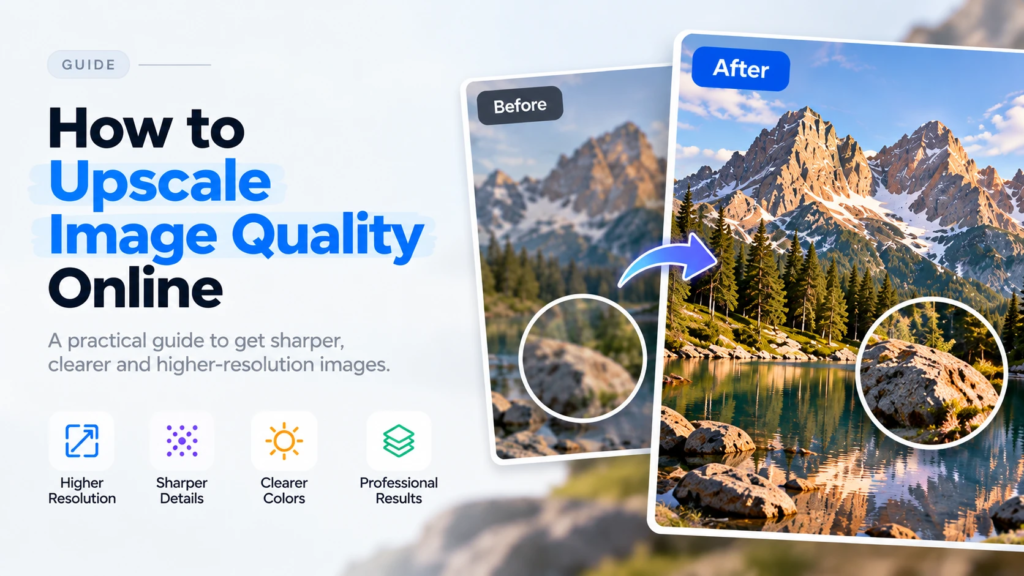

Image quality determines whether a photo looks professional or amateurish — and resolution is at the core of that difference. A low-resolution image that works fine at thumbnail size falls apart the moment it’s displayed larger: on a product page with a zoom feature, in a print run, on a widescreen monitor. Upscaling changes that.
This guide covers what upscaling actually does at the technical level, when it makes a meaningful difference, and how to get the best results from AI-powered upscaling tools.
What ‘Upscaling’ Means for Image Quality
Upscaling increases the pixel count of an image. A 500×500 pixel photo upscaled to 2000×2000 pixels has 16 times more pixels — but where do those extra pixels come from?
Traditional upscaling (bicubic interpolation, Lanczos resampling) calculates new pixel values by averaging the neighbors around each existing pixel. The result is mathematically smooth but visually soft — edges lose sharpness, fine detail disappears into blur.
AI upscaling works differently. Instead of calculating averages, a neural network predicts what the high-resolution version of the image should look like, based on patterns it learned from millions of image pairs. The result retains and reconstructs detail that traditional methods would blur away.
When Upscaling Makes a Measurable Difference
| Use Case | Original Problem | After Upscaling |
| E-commerce product listing | Image too small for zoom feature, looks blurry on mobile | Zoom-ready resolution, sharp at any display size |
| Print materials (flyers, banners) | 72 dpi web image can’t print cleanly at 300 dpi | Sufficient resolution for professional print output |
| Blog and editorial images | Sourced image too small for header or featured slot | Fills the layout without visible pixelation |
| Old photos and scanned prints | Low sensor resolution or low scan dpi | Reconstructed detail, sharper edges and textures |
| Social media thumbnails → full posts | Platform-compressed, resolution degraded | Restored quality suitable for larger display |
| Logo and icon scaling | Vector not available, only small raster file | Enlarged version with clean, sharp edges |
The Limits of Upscaling
Upscaling reconstructs detail — it doesn’t invent it from nothing. A few honest limitations:
- Extreme upscaling ratios (10× and above) produce diminishing returns. 2× and 4× upscaling consistently delivers good results; beyond that, the model is increasingly filling in gaps rather than reconstructing real detail.
- Motion blur and lens blur are different from low resolution. Upscaling sharpens resolution; it doesn’t fix photos where the subject moved or the lens wasn’t focused.
- Images with heavy JPEG compression artifacts first benefit from artifact removal, then upscaling. Upscaling a heavily compressed image amplifies the artifacts alongside the detail.
- Watercolor paintings, illustrations, and heavily stylized images sometimes show artificial sharpening that looks inconsistent with the original art style — check the output before use.
Step-by-Step: How to Upscale Image Quality Online
- Step 1 — Start with the best available source. Use the largest, least-compressed version of your image. If you have both a PNG and a JPEG, use the PNG. If only JPEGs, use the one with the largest file size.
- Step 2 — Open the upscaling tool. A browser-based tool requires no software installation and works across desktop and mobile.
- Step 3 — Upload your image. Most tools accept JPG, PNG, and WEBP. Drag-and-drop or the file picker both work.
- Step 4 — Select your upscaling factor. 2× is suitable for most use cases (web images, social media). 4× is appropriate for print or large-format display where maximum resolution is needed.
- Step 5 — Process and preview. The AI model analyzes and reconstructs the image. Check the result at 100% zoom — focus on edges, fine textures, and any text that appears in the image.
- Step 6 — Download the full-resolution output. The file should be the actual upscaled dimensions, not a compressed preview.
When you need to upscale image quality online, Phototune upscale handles 2× and 4× scaling with AI-powered detail reconstruction — no account required, full-resolution output.
Evaluating the Output: What to Look For
| Check Area | Good Result | Problem Sign |
| Edges and outlines | Sharp, defined — no halo or fringing | White or colored halo around edges |
| Fine textures (fabric, hair, foliage) | Natural, detailed — not smeared or repeated | Smooth patch where texture should be |
| Text within the image | Legible, clean edges on letterforms | Blurry or artificially sharpened text |
| Flat color areas (sky, backgrounds) | Smooth, no banding or artifacts | Noise or gradient banding |
File Format After Upscaling
The upscaled output is typically larger in file size than the original. For different destinations:
- Web use — compress the upscaled image before uploading. An uncompressed 4× upscale can be 10–20× larger than the original; run it through a compression tool targeting 80–85% quality JPEG or optimized PNG.
- Print use — keep the file at full resolution without additional compression. Print workflows use the full pixel data.
- Archiving — save the full-resolution version as a PNG for lossless storage, even if you’ll use compressed versions for actual deployment.
Don’t miss out — discover more stories only on Meet Celebrity.